Customise your Z shell(Zsh) without using Oh-my-zsh
Let's install and customise our Z shell to make it productive and look better!

A developer who likes to build and explore new stuff. I am currently working towards improving in Front end development.
What is Zsh?
In the world of UNIX-based systems, there are various shells available out there and Zsh, also known as the Z shell is one of the very popular shells. It is popular because of the customisation ability it provides to the users offering more support for plugins and themes.
What is oh-my-zsh?
oh-my-zsh is an open-source framework used to manage your zsh configurations.
But this blog is about "How to customise your zsh and manage configurations without using oh-my-zsh?"
So, if you already know about oh-my-zsh and probably using it too, you might have the question:
Why not oh-my-zsh?
So, the straightforward answer would be, that it comes with too many configurations out of which you might not even use 10%. Obviously, you can use it if you want but it just makes your shell slow and you can actually feel it while working on your shell.
Steps to install and configure Zsh:
STEP 1: Install zsh from your default terminal
Run the following commands:
sudo apt-get update
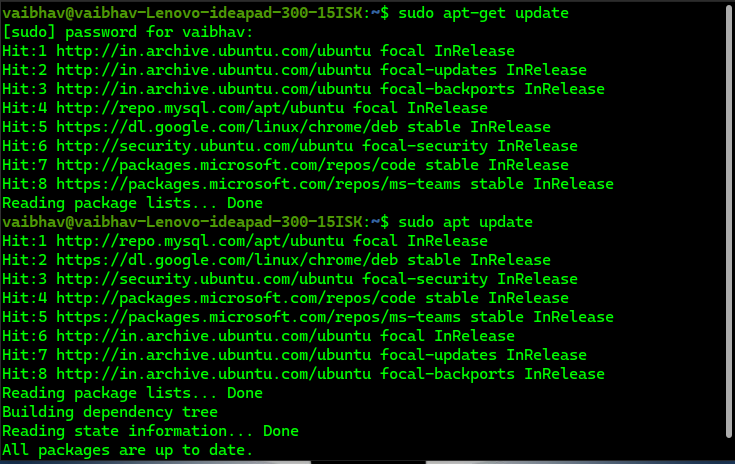
sudo apt-get install zsh -y
I already have it installed.

STEP 2: Make Zsh your default shell
chsh -s /bin/zsh
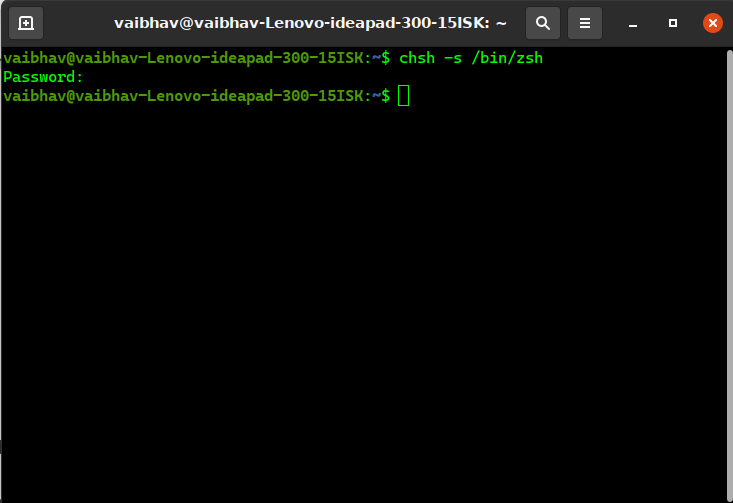
Reboot the system and now you should be able to see your terminal running zsh.
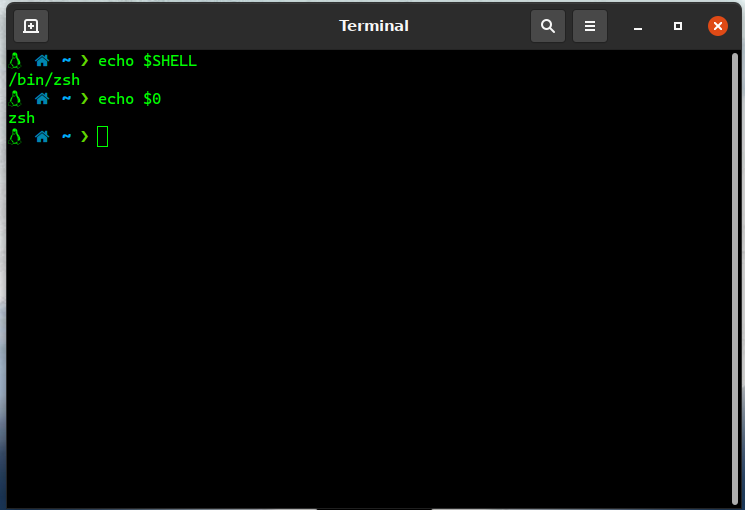
To check which shell is active, run this command:
echo $0
To check the path:
echo $SHELL
Now, to change the configurations, and install themes and plugins we need to edit the ".zshrc" file. But first, we need to get themes and plugins.
STEP 3: Configure powerlevel10k theme
Powerlevel10k theme can change the whole look and feel of your terminal. You can make your terminal look like this:
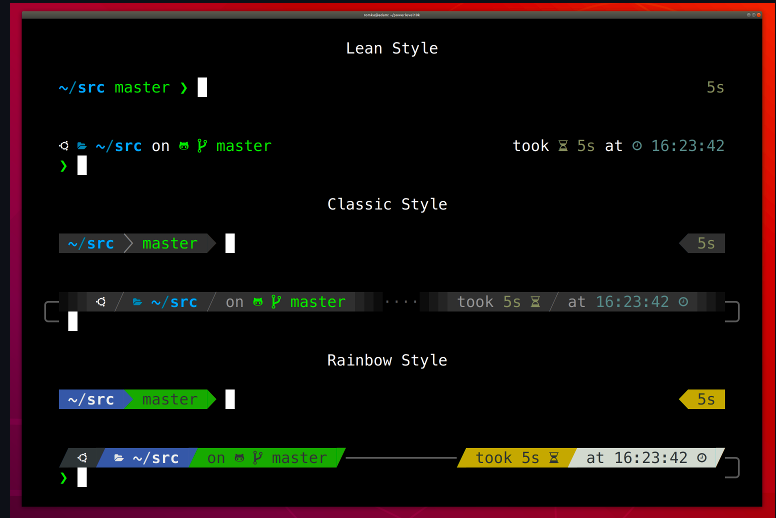
Let's configure this in our shell. You can check the steps from the official repo here
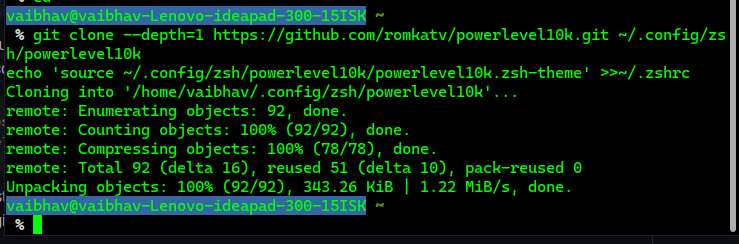
- Clone the repo and put the theme in zshrc file using this command:
git clone --depth=1 https://gitee.com/romkatv/powerlevel10k.git ~/powerlevel10k
echo 'source ~/powerlevel10k/powerlevel10k.zsh-theme' >>~/.zshrc
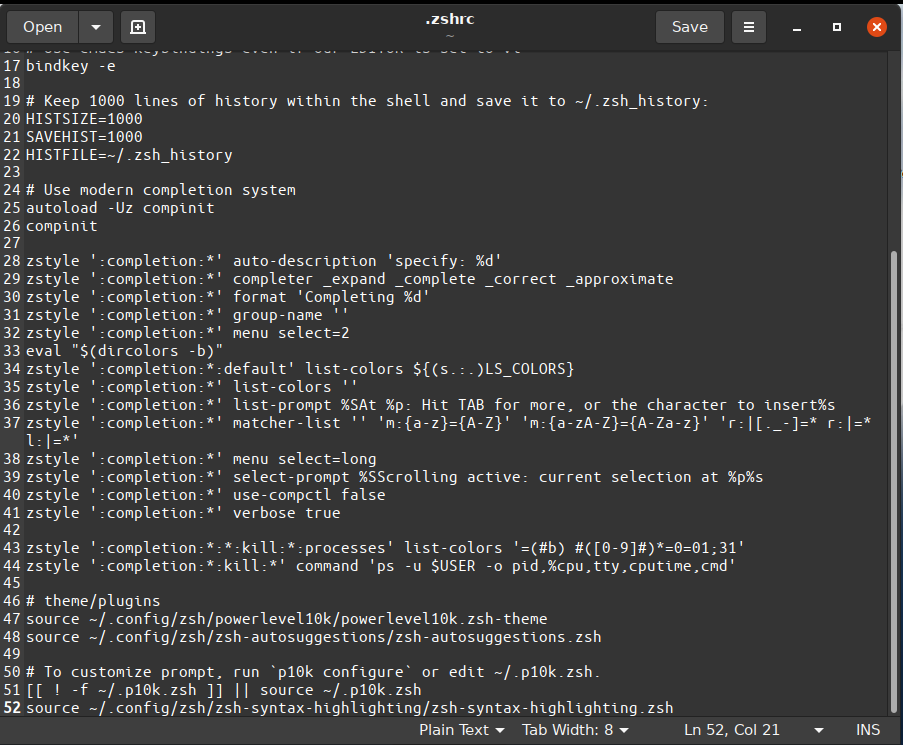
Don't get confused with the image. I clone these themes in /.config/zsh files so that they remain in one place.
And we just now need to configure the theme and we are done. Restart the terminal and you will get a powerlevel10k config prompt as shown in the image.
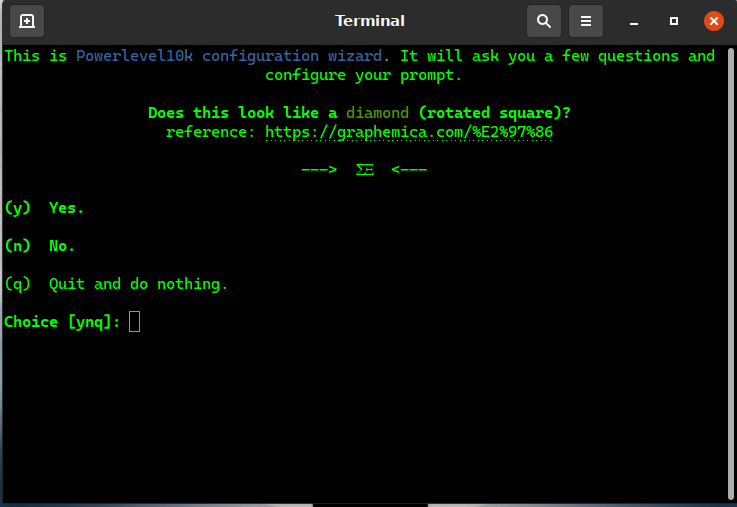
If you don't get the prompt, use this command:
p10k configure
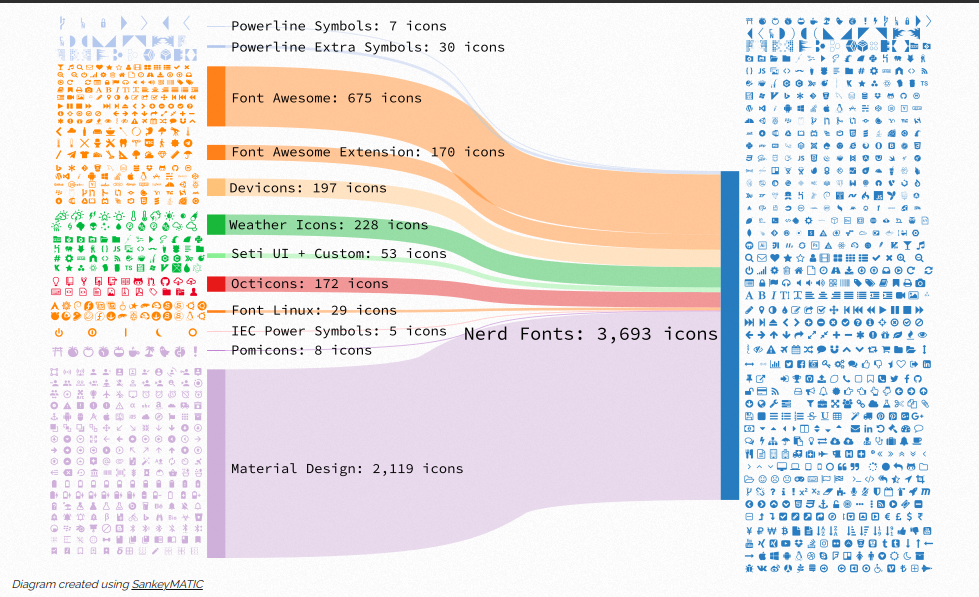
You may not see a few symbols perfectly, it can be a case of not having nerd fonts installed. So, let's get some nerd fonts.
STEP 4: Installing NERD Fonts
Now you might need to install nerd fonts in your system. If you are already familiar with nerd fonts and have one installed, you can skip this step.
NERD Fonts are a collection of different types of fonts patched together to provide all symbols from different fonts together.
So, you can install any nerd font of your own choice.
You can get MesloLGS NF Regular font from here
Now, again run:
p10k configure
And configure the look of the terminal according to your choice!
STEP 5: Configuring Auto-suggestions plugin (Optional)
zsh-autosuggestions suggest commands as you type based on history and completions.
For example:
You can find the Github repo and installation steps here OR you can also follow the below-given steps!
- Clone the repository by this command or you can also clone it in your desired folder:
git clone https://github.com/zsh-users/zsh-autosuggestions ~/.zsh/zsh-autosuggestions
- Add the source code in .zshrc file:
source ~/.zsh/zsh-autosuggestions/zsh-autosuggestions.zsh
You can take the example of my zshrc file and see line 48, how I have pasted the source code and configure yours accordingly.
You can see my clone location is /.config/zsh
Conclusion
Thanks 🙏 for reading and following this tutorial till the end! I appreciate your time and effort. I hope your terminal looks cool now and will help you in improving your productivity as it has done for me.
Also, I hope you understand how easy it is to configure your terminal without using oh-my-zsh. It felt hard for me too in the beginning but once I did it, I found it very easy. I hope the same for you 🤟
If you have any suggestions/questions, feel free to connect with me on Twitter and LinkedIn.
And if you feel this article helped you, don't forget to give it a thumbs up and share it with your friends.
See you all next time! 👋
Vaibhav


